The Display App
The Display App runs on a monitor above the coffee bar. It provides a list of upcoming and completed drinks. It also shows the QR code that customers scan to start their orders. This is the first of three frontends you will set up.
Inside this section
This frontend has already been deployed and is presented as a hosted UI at https://workshop-display.serverlesscoffee.com/.
- The hosted UI presents a configuration page when you first visit this URL.
- After entering the configuration settings, it stores these in the browser’s local cache.
- The settings you use are not visible to anyone else visiting the same URL.
Source code for this application:
Setting up the Display App
Step-by-step instructions
Most of front end configurations have already been entered for you, you must load these by selecting the Display app URL from the Cloud Formation template outputs:
-
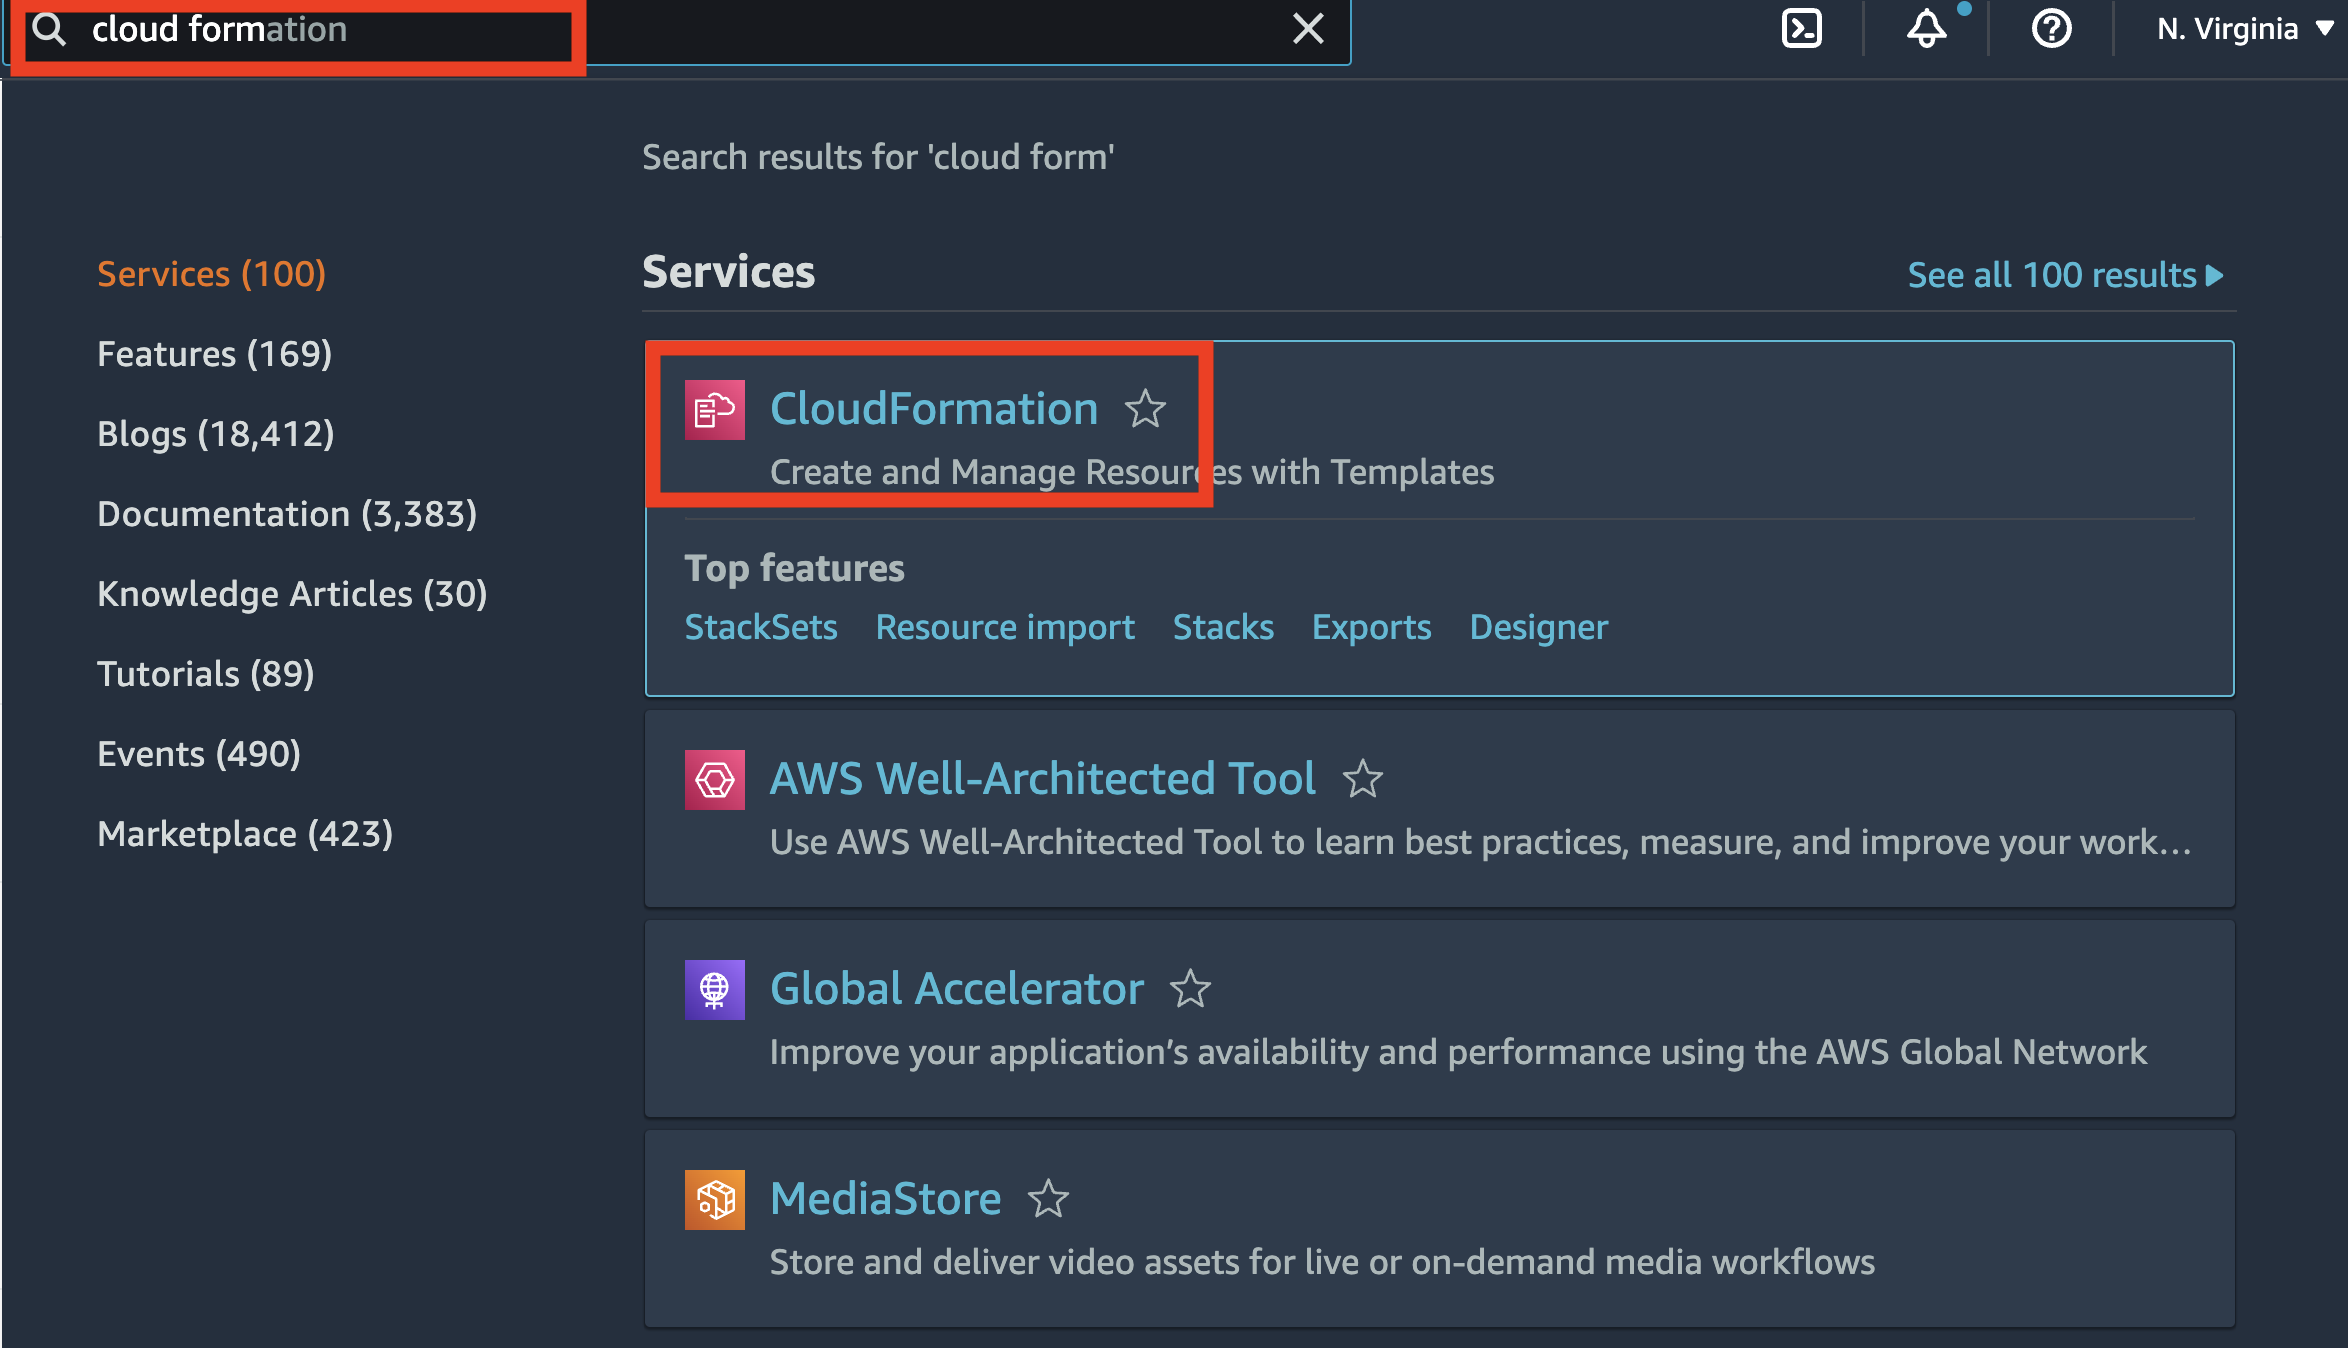
From the AWS Management Console, search for “Cloud Formation”, then choose “Cloud Formation” from the list of results.
-
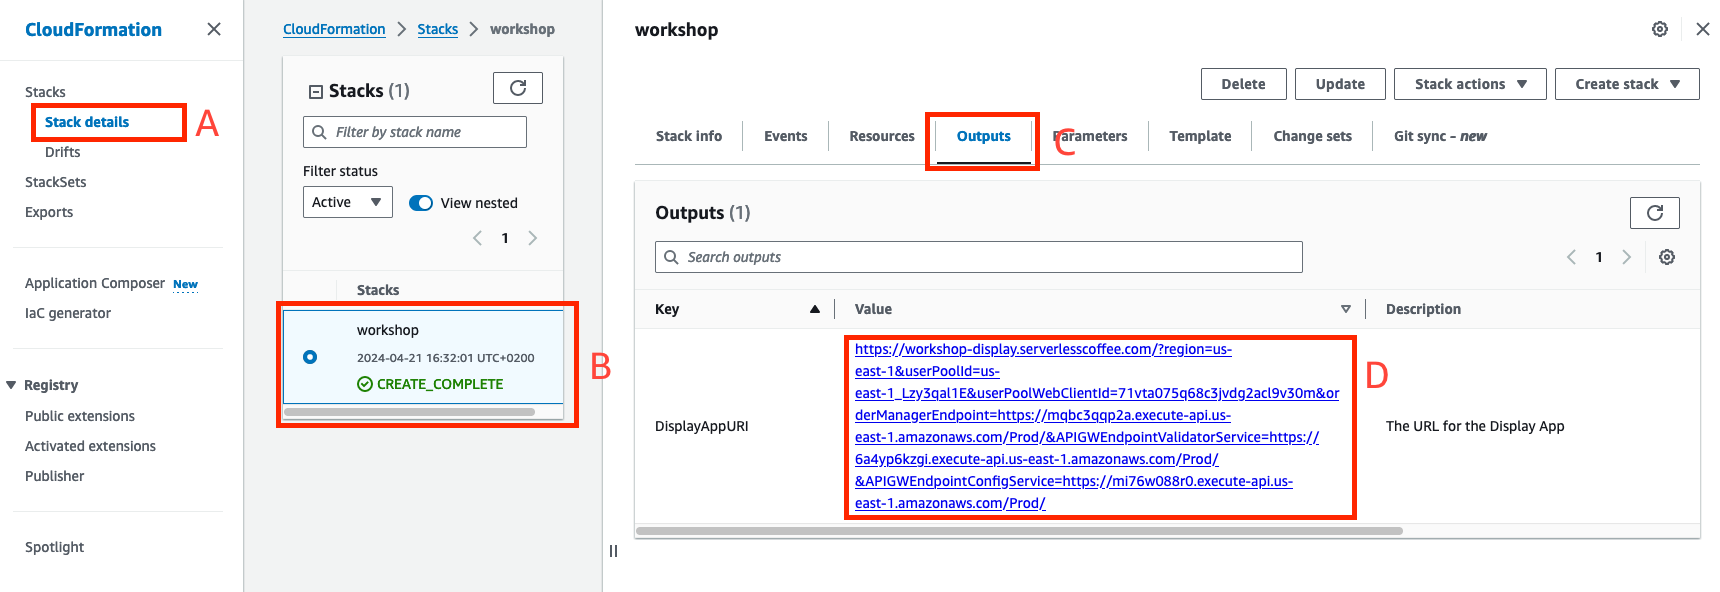
From the List of Stacks, select the stack that should be named something like workshop.
3.Choose the Outputs tab.
-
Find Output named DisplayAppURI and choose the pre created URL, Open this link in a new tab.
-
This opens the display application UI with all but 2 of the configurations pre-filled.
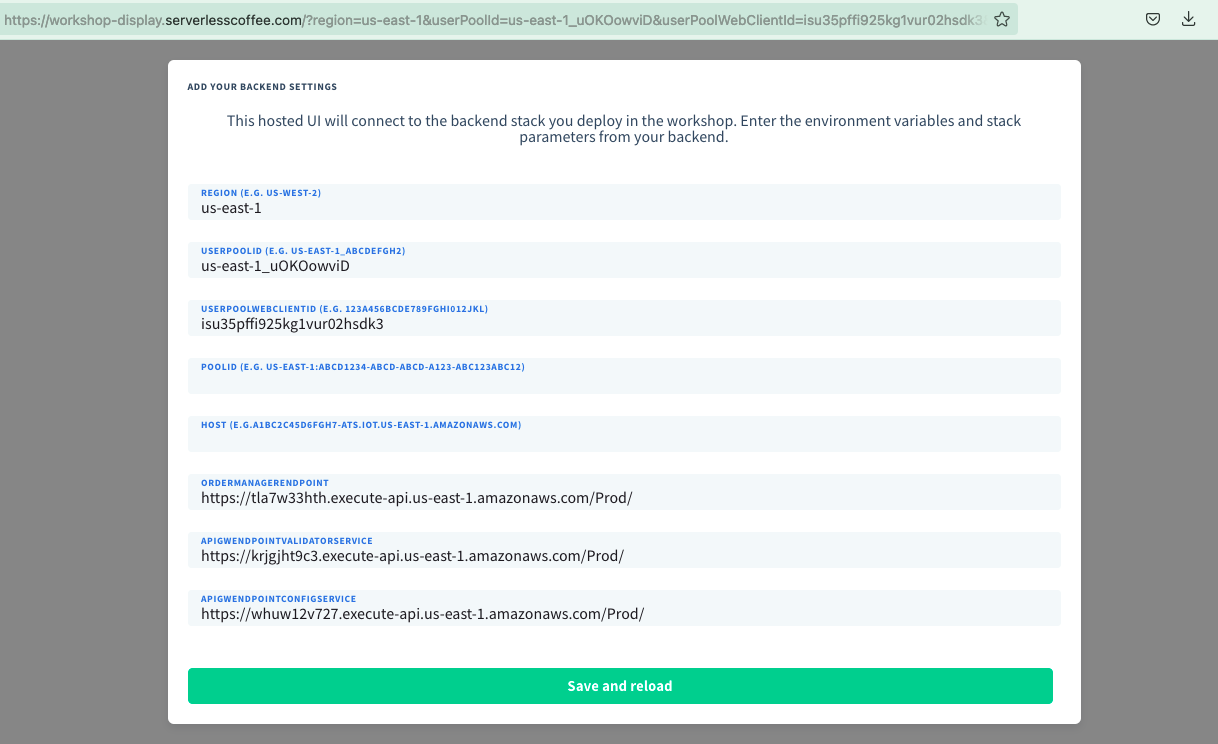
- Complete the remaining configuration settings:
- PoolId: enter the
poolIdvalue from Finding the Settings earlier.. - Host: enter the
hostvalue from Finding the Settings earlier.
- Choose Save and reload.
Setting up a user account
The Serverlesspresso application supports both user and admin accounts. The admin account can log into the Display and Barista apps, whereas users can only log into the Customer app. In this section, you will create an admin user to log into all apps.
Step-by-step instructions
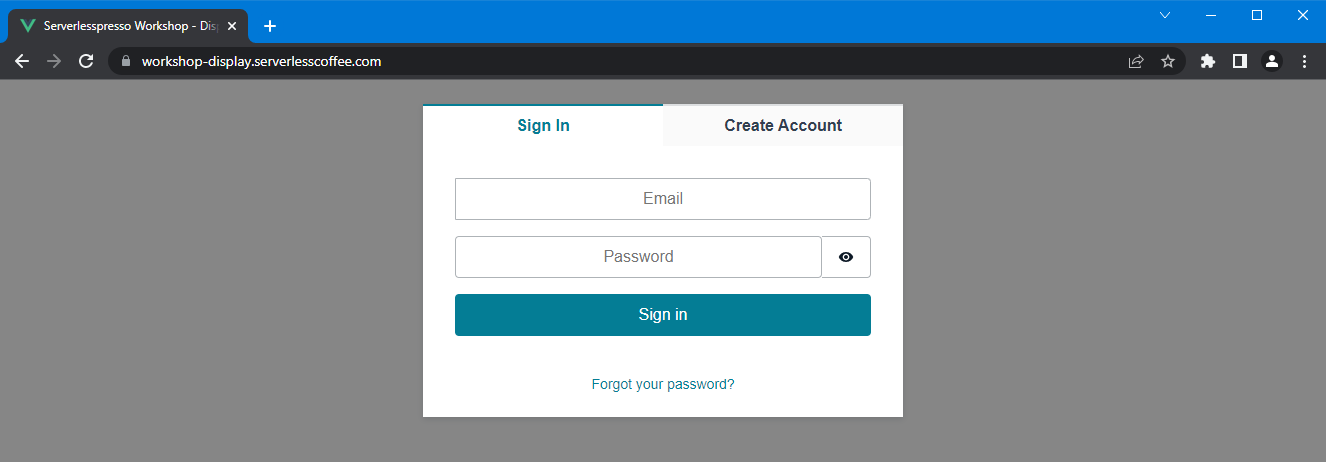
- Select the Create Account tab. Enter a valid email you have access to during the workshop, together with a password. Choose Create Account

- Enter the verification code from the email and choose Confirm.

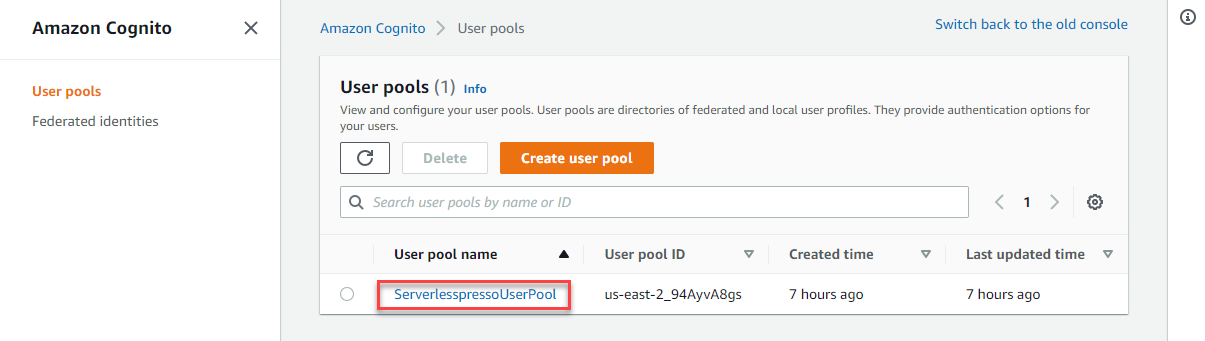
- In a separate browser tab, navigate to the Cognito console. Choose ServerlesspressoUserPool.
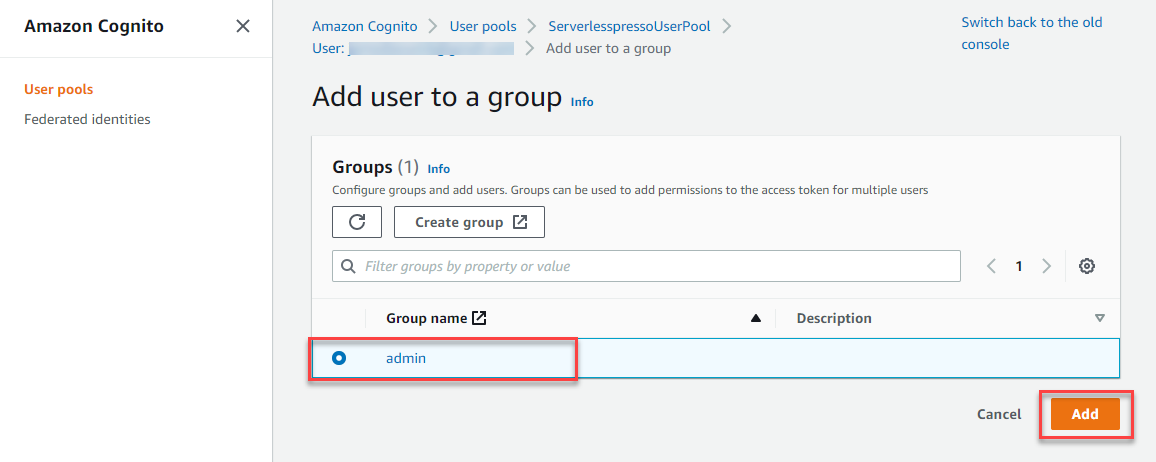
- Select the Groups tab, then choose Create group.
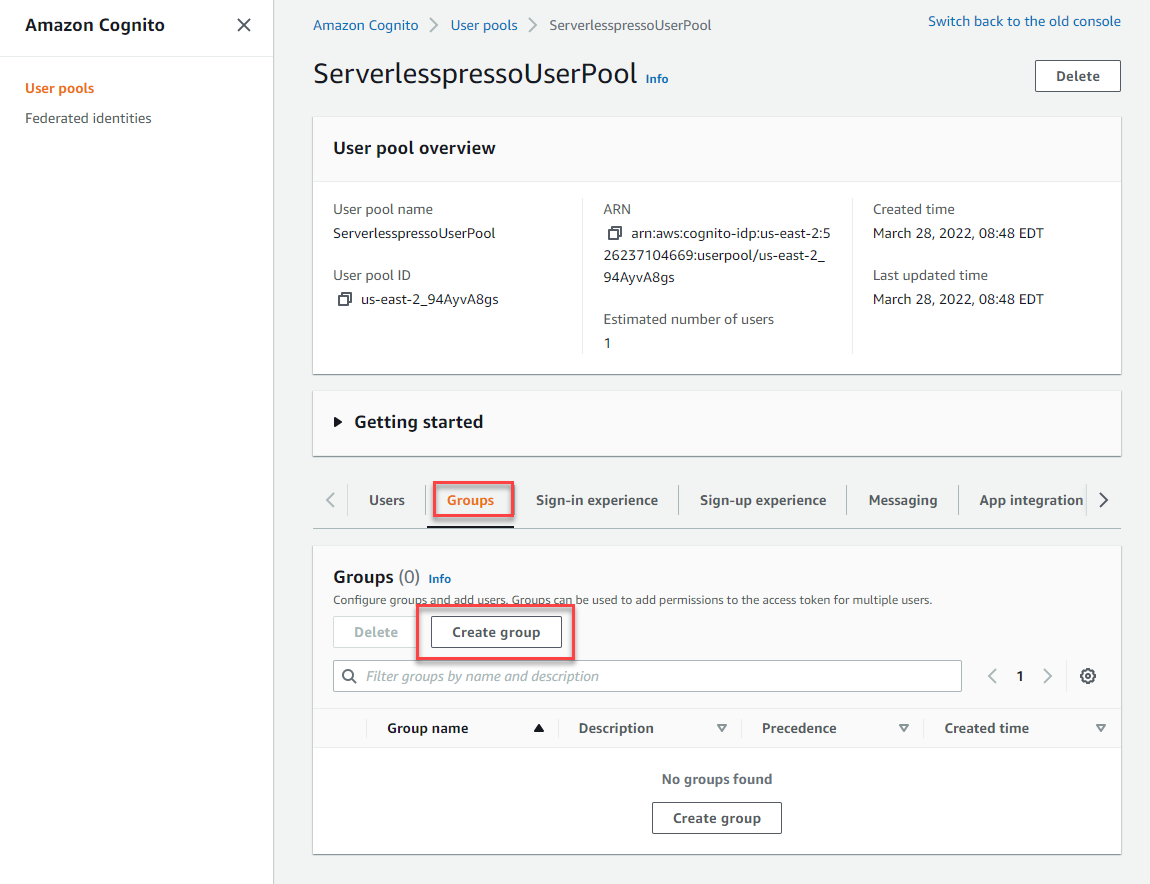
- In the Create group page, enter
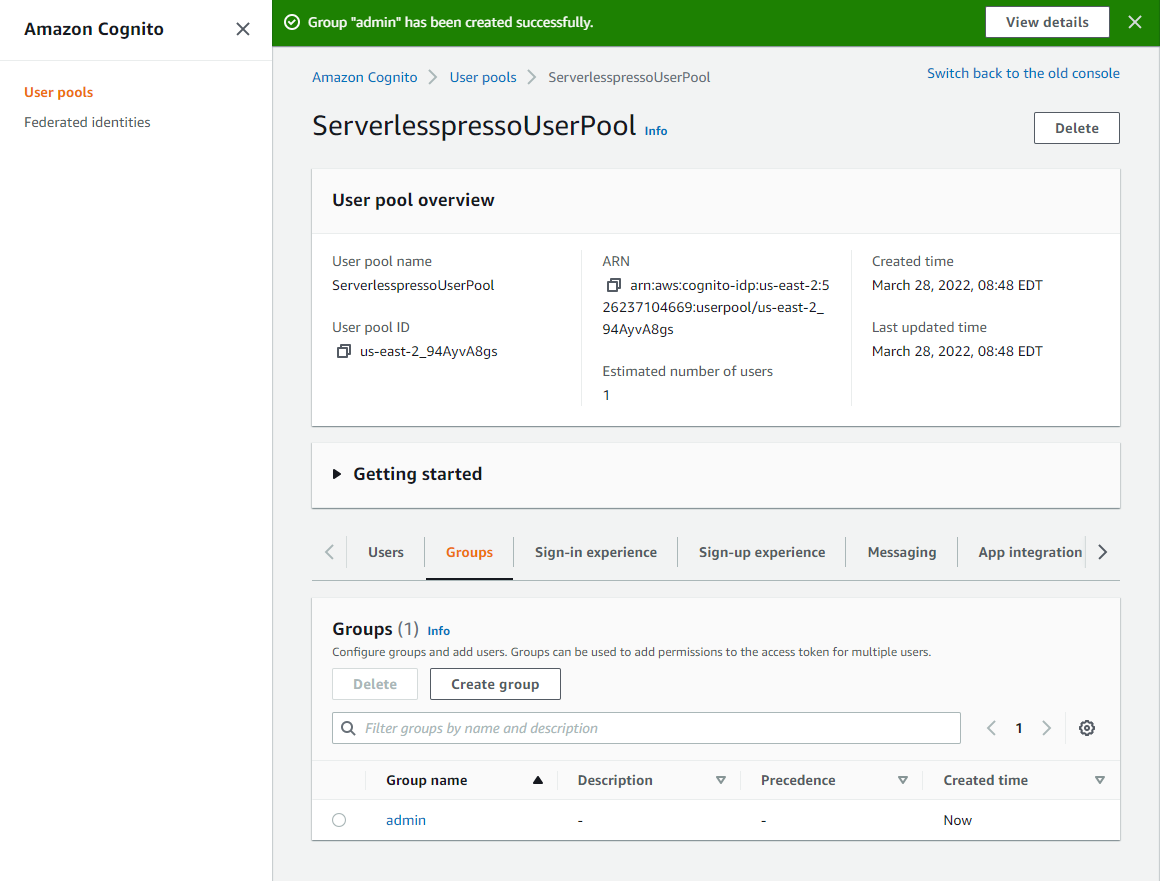
adminfor the Group name and choose Create group.
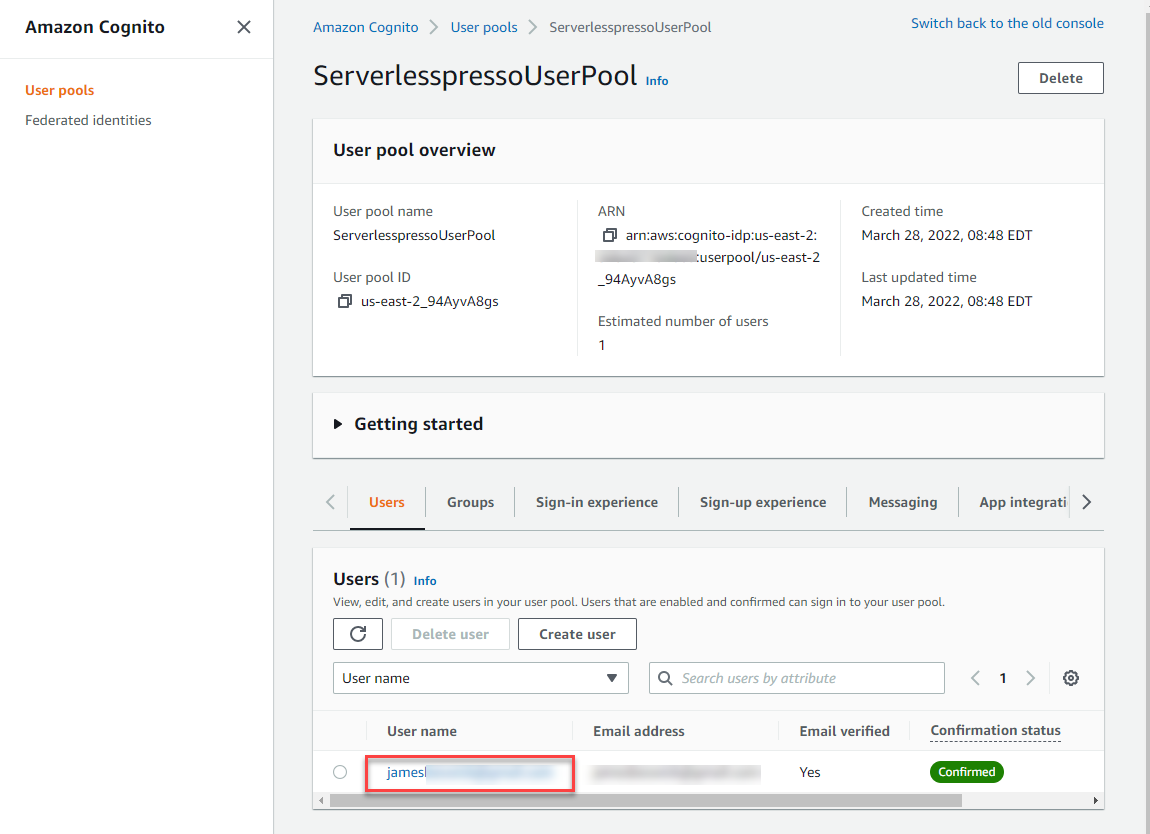
- Selec then Users tab, then choose the user you created.
- In Group memberships, choose Add user to group. Select admin and choose Add.
- Go back to the browser tab showing the Display App. Log in with the user you created and the the Display App is now shown.
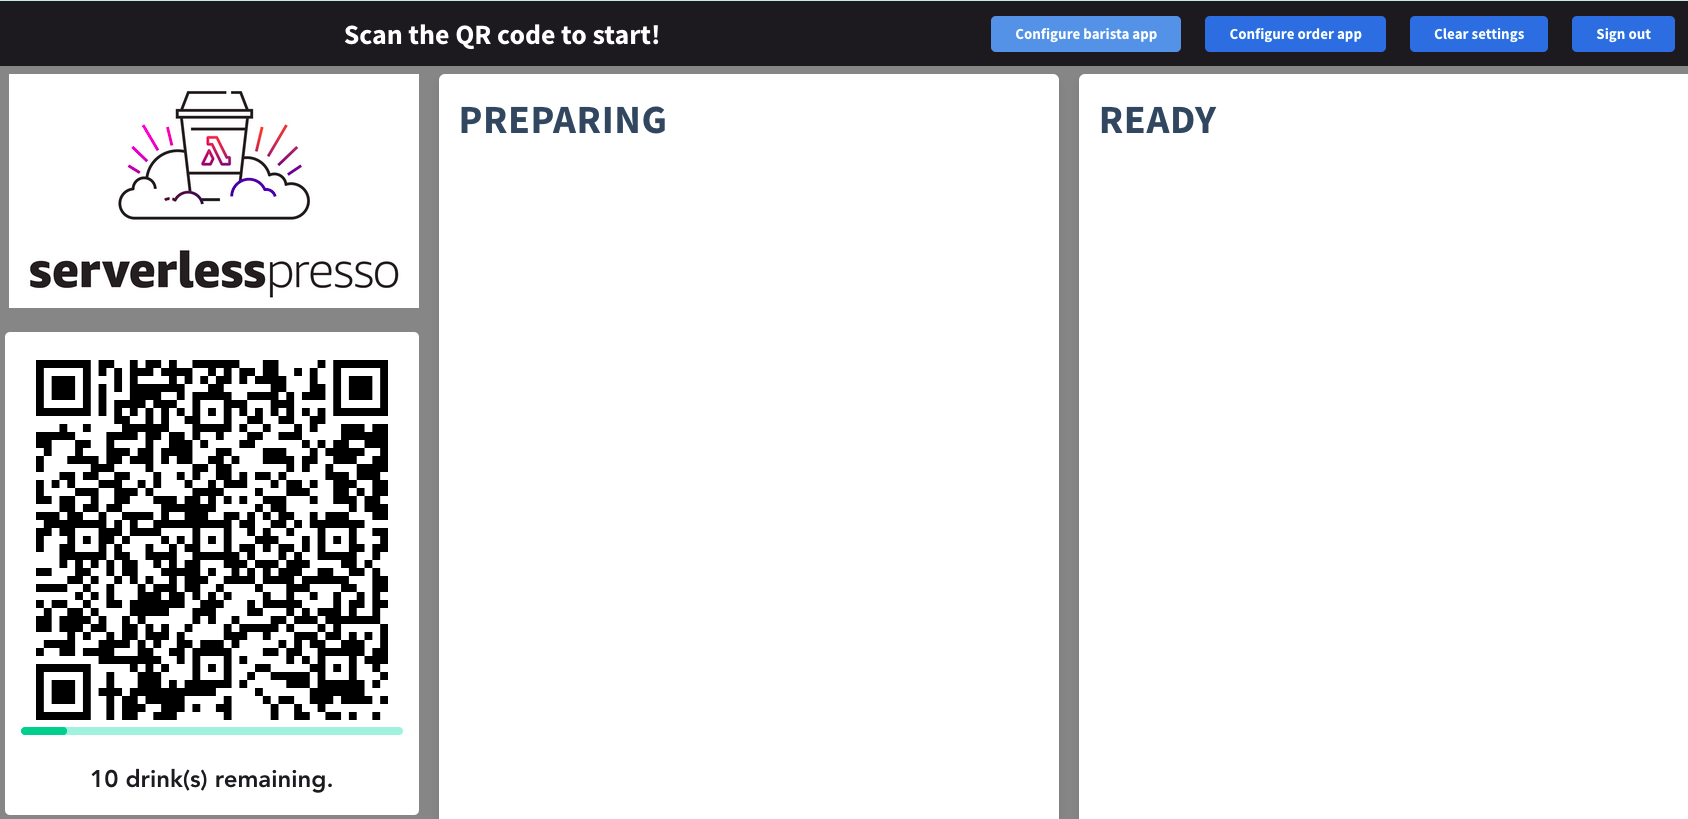
Note the 4 admin buttons provided in the top right-hand corner:
- Configure barista app: Use this for transferring settings to the Barista App later in this section.
- Configure order app: Use this for transferring settings to the Order App later in this section.
- Clear settings: Empties the local settings cache and clears the backend settings. This causes the Settings page to be displayed the next time the page reloads. Use this if you want to change your backend settings.
- Sign out: Signs out the Cognito user from the frontend and returns you to the sign-in page.
The QR code shown will change every five minutes and limit the total number of orders to the value shown on the screen (10 by default). Later, in the end-to-end test, you will scan this QR code to start the ordering process.
Keep the Display App open in a browser tab.
Next steps
Next, you will set up the Barista App.